Sunday, July 31, 2011

Simple Thank You Card

Just got back from Dallas... had a wonderful time visiting family and my sweet friend Cassi Rae! We even had the chance to have a little fun and relaxation on the lake!

And Friday was the last day of my 21 day diet, woo hoo! I lost 10 lbs, which sure feels great!

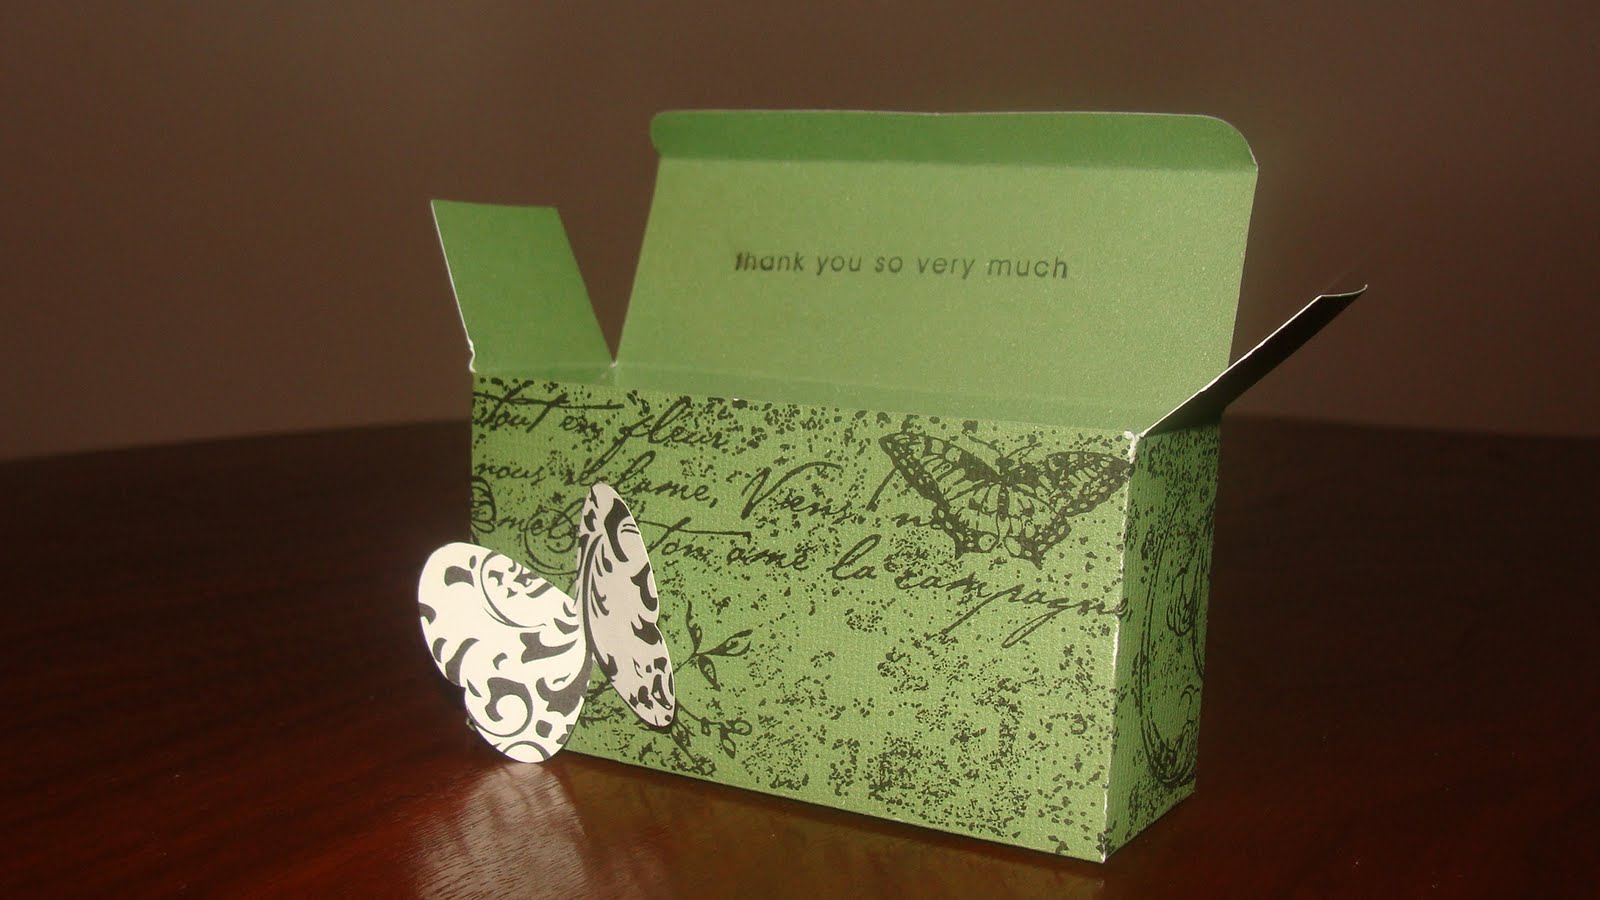
Have a card class tomorrow, but this time we each had to design a card to teach. I can't wait to tell y'll all about it and show ya'll the other wonderful creations! We had to keep it sweet and simple so here is what I came up with!


Recipe:
Card Base - 4 1/4" x 11"
Craft & White Cardstock - Stampin Up!
Patterned Cardstock - K&Company
Punch for window - Stampin Up Decorative Label punch
Embossing Folder - Tim Holtz Damask
Ribbon & Border Punch - Michael's

As always, ENJOY!

Monday, July 25, 2011

Party Invites

So as you know, my family came into town this past weekend to help me make some card kits and we had so much fun. On top of all the excitement, I also designed my sister's birthday invites. She is going for a vintage black and white theme with a pop of color(red). She also wanted there to be a bird and an anchor on the invite somewhere.

I decided to make a hinged invite, thought it would be something different and fun! So I bet your ready to see it! Here it is!


Don't you just LOVE how it turned out? Just lovely! Hope you all enjoy!

Recipe:
Card Base - 5 3/4" x 4 1/2"
Background Mat - 5 1/2" x 4 1/4"
Striped Mat - 3 1/2" x 4 1/4"
Red Patterned Mat - 3" x 4 1/4"
Small Black Mat - 2 1/2" x 2 3/4"
Outer Stamped Mat - 2 1/4" x 2 1/2"
Black Cardstock - Stampin Up
Striped & Cream Cardstock - Recollections
Red Patterned Cardstock - Creative Imaginations
Anchor Stamp - Stampin Up "Open Sea" set
Word Stamps - Recollections
Inside Bird Stamp - Tim Holtz
Outer Bird, Bird Cage & Swirl Stamp - (Not sure of this one, sorry)
Ribbon, Twine & Embellishments - Michael's
Border Punch - Martha Stewart
ATG gun, Pop Dots

Saturday, July 23, 2011

Working away!

We are getting lots accomplished! The wonderful Patsy even stopped by to help me out for a few hours. It was so nice to have the extra hands! Have 2 card styles completed and bagged and have made 5 other sets of kits (about 15 cards in each!) So much work still left, but it's going to feel nice when they are all finished!


Here's the supply table:
The workstation... a little messy but what is crafting without any clutter!:


And here are just some of the card kits!


Am still working away like crazy over here, but having lots of FUN! Need to design my card for my card class next week as well as my sister's party invites and favors, so lots of exciting things coming your way!

Have a great evening!

Thursday, July 21, 2011

Friends Fur-ever

Have my family coming into town to help me on my inventory for my shop... gonna be fun! Nothing but card making this weekend and I will for sure take pictures of the madness! Already have the kits made, just have to put them together!

For now, here is a cute but simple birthday card. Hope you enjoy!


Recipe:
Card Size - 8 1/2" x 5 1/2"
Large Mat Size - 3 3/4" x 5"
Brown Mat Size - 1 3/4" x 3 1/2"
Green Mat Size - 1 1/2" x 3 1/4"
White Mat Size - 1 1/4" x 3"
Cardstock & Twine - Stampin Up
Stampin Up "Friends Fur-ever" Set
ATG gun, Pop Dots

As always, enjoy!

Tuesday, July 19, 2011

My 1st Card Swap!

So tonight I participated in my first ever card swap and it was a lot of fun! I will say that I was pretty nervous though. I think this is something I will do every month... such great inspiration and ideas to learn from.

Here is the sketch we were given to follow:


This is what I came up with:


And here are all the wonderful cards I received!


Recipe for my card:
Card Size - 8 1/2" x 5 1/2"
White & Brown Cardstock - Stampin Up!
Blue Cardstock - Recollections
Decorative Label & Flower Punch - Stampin Up!
Cuttlebug "Bird Call" Embossing Folder
Stamps - Stampin Up!
ATG gun, Glue Dots, Pop Dots

I know I have been behind on keeping up with all of ya'lls wonderful blogs and I'm am going to make an effort to get back into that habit. Please know that I do love and appreciate all of ya'lls work and support. I couldn't have better followers! Thank you all!

Thursday, July 14, 2011

Friend to Friend

Evening all!

Hope everyone is doing well. I have a card that I've been meaning to post for a while now and it's so CUTE! I love, love, love it!

This is a card I learned how to make in one of my card classes! The stamp set used is a retired stamp set from Stampin Up called "On the Farm" and it has the most adorable farm animals!

The cow is the only stamp that is on the white mat... all the rest are pop dotted up! Such a fun card and you could change it up and put any type of farm animal in place of the cow.


Recipe:
Card Size - 5 1/2" x 8 1/2"
Red Mat Size - 5 1/4" x 4"
Black Mat Size - 4 1/4" x 3 1/4"
White Mat Size - 4" x 3"
Cardstock, Stamps, Stampin Write Markers, Punches - Stampin Up!
Embellishments - Michael's/Hobby Lobby
ATG gun, Pop Dots, Fiskars Crimper

As always ENJOY! Am off to Austin for the weekend... get to see my dad's new house! YAY! And I have a card swap next week and can't wait to show ya'll the card I made for it as well as all the others!

Tuesday, July 12, 2011

Happy Tuesday!

My sweet cousin Logan asked me to do her thank you cards for her birthday. She had a pool party/slumber party and I think they all had a grand time!

I just made them simple and left them blank on the inside as she wanted to write her thank you's out.


Recipe:
Card Size - 5 1/2" x 8 1/2"
White and Tan Cardstock - Stampin Up!
Blue Cardstock - Recollections
Decorative Label Punch - Stampin Up!
Sentiment - Stampin Up "Word Play" Set
Crimper - Fiskars
ATG gun, Pop Dots

Am doing a card swap this month and am almost done with my design, then I can show it off! I'm so excited! Hope ya'll have a wonderful night.

Monday, July 11, 2011

Gate Fold Wedding Invite

Morning all my wonderful bloggers! Hope everyone had a GREAT weekend! If you've a follower I'm sure you know that I had a HUGE order come in. Well, I sent them the samples and they appreciated my work, but wasn't quite what they were looking for. So I took another crack at it and decided to go with a gate fold style. I think they will really enjoy this one and I hope ya'll do as well!


To make my gate fold card, I just started out with an 8 1/2" x 11" piece of cardstock. Then I cut it down to 7" x 10" because this is the size I wanted. I scored it at 2 1/2" and 7 1/2". As for the outer banner it is 10" x 2" and the piece on top of it is 2" x 3".

For the inside of the invite I took the picture of the tree they are getting married under and turned it into a watermark. Really like how it turned out.

Have a Fabulous Monday, I'll be back tomorrow! Trying my best to keep up with my blog posts now!

Friday, July 8, 2011

Flower Cupcakes

So I've been working seriously on my business plan (It's looking GREAT!) the past few days, which is why I've been out of pocket a bit. Plus work has been so crazy... we had 48 campers this week (ages 4-6) and next week we have 62 (Yikes!... gonna be another long week!) . But the kids are cooking up some delicious things and our kitchens smell so lovely!

Thought I'd share these flower cupcakes I made, with the help of my wonderful hubby and our 2 GREAT friends, Stephanie & Daniel! We had so much fun putting these together and would do it again! And they were absolutely YUMMY!


The Flower part is just mini marshmallows cut in half at a diagonal then coated with colored sugar. The center of the flowers are just licorce pieces, but you could also use Good & Plenty candies. Looks a little intricate, but it's fairly simple to do, i promise you that.

Have a 7am training session at the gym tomorrow morning and after that I'm off all weekend! YAY! Am working on some more orders that came in and hope to get all my creations posted. 

Tuesday, July 5, 2011

Favor Box

Finally got my extended cutting pads for my Big Shot! Woo hoo! Everything I'm showing you today is Stampin Up products minus the paper. If you haven't gotten into Stampin Up be sure you do! They have so many wonderful things and the new catalog just came out and its AMAZING! Such great inspiration and ideas I wouldn't even think of!

Am finally also able to show off my new XL Die! It's a box and it just looks so stinkin cute and on top of everything, it is so easy to assemble!

Here is what the Die looks like:

And here is what I made from it! Just so pretty!


Recipe:
Cardstock - Recollections
Sizzix Box #2 Die - Stampin Up!
Very Vintage Jumbo Wheel Stamp - Stampin Up!
Butterfly Punch - Stampin Up!
Ribbon - Michael's
ATG gun (only used to adhere 1 part, the rest just fits together!) & Glue Dots

Can't wait to do so many more styles of these great favor boxes.

Friday, July 1, 2011

A Sincere Thanks

This week I have put lots of hours in at work and had some wonderful company in town, so needless to say I've been busy. I've come to the conclusion that I'm just a very busy person! BUT I have not strayed away from the craft room, so I have lots of exciting projects coming your way!

So last Friday I put up my Golden Birthday Challenge and I just want to extend a sincere thanks and congratulations to Theresa of Crafts, Friends & Angels.  She was my one and only submission I received for my first challenge and I was so thrilled to even have someone join in on the fun. Below is the card she created for my challenge. Such a wonderful, sweet card!  (Theresa, I will be contacting you soon!)


While we're on the topic of thanks, I had an order come in for a thank you card. This card will be given to a realtor who helped a couple buy their new home!


Recipe:
Wild Cart Cart (House Card cut @ 7")
Tan, Off-white & Brown Cardstock - Stampin Up!
Red, Green & Yellow Cardstock - Recollections
Swirls, Flowers, and Square Lattice Embossing Folders
Stamps - Michael's
ATG gun, Pop Dots, Xyron, Zig 2-Way Glue Pen

Have a wonderful Friday everyone and a safe 4th of of July weekend! Hope you enjoy and until next time... happy crafting!